Windows 8 Developer Preview VMWare Install
Sep 14, 2011 · 6 minute read · CommentsWindowsVirtualization
I was very excited when I heard that a Developer Preview of Windows 8 was coming out. I downloaded it (even though I went over my data cap for the month) so I could play with it in a virtual machine. I immediately went to VMWare Workstation 7.14 to attempt installing it, only to run into an error that said:
MONITOR PANIC: vcpu-0:NOT_IMPLEMENTED vmcore/vmm/intr/apic.c:1903
Well, crud. That didn’t work very well. I arrived at the loading screen (with a fancy new spinning wheel thingy) and got a popup error. After a few searches, I discovered (I believe my initial hint was from here) that the Windows 8 Developer Preview simply doesn’t work on VMWare Workstation 7.xx. Thus I acquired VMWare Workstation 8 so I could install the OS and have fun. I have screenshots from now on of what I have done.
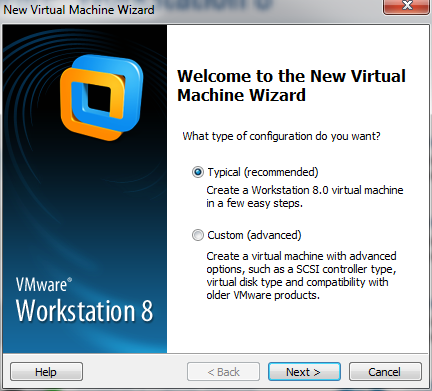
First I clicked on the big “Create a New Virtual Machine” button in the Home tab. That brought up the new virtual machine wizard. This is pretty standard, but for completeness I will cover what I did to set up the virtual machine.
VM Setup
The first screen shown asks you which VM type you want to create. I chose a Typical install because that’s what this is. Throughout this process I generally treated Windows 8 as Windows 7.
Next was the method of installing the operating system. I had the .iso file on my desktop so I chose that.

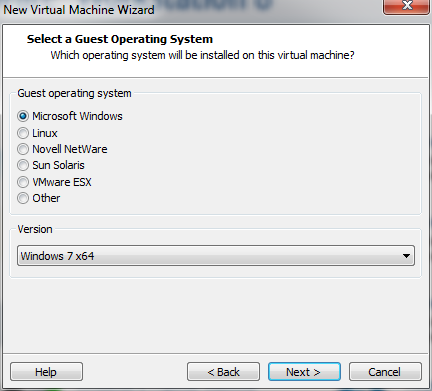
Next it asked me what kind of OS I wanted. I chose Windows 7 x64 because I figured that was closest by compatibility standards.
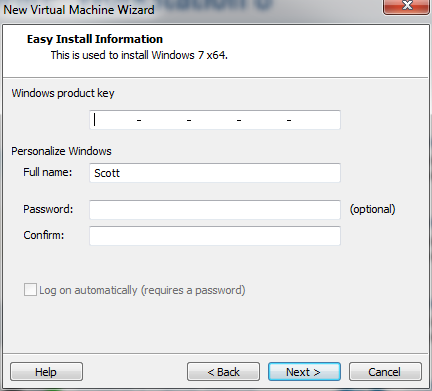
Next it asks for the product key you want to use. I just left everything at the default values here, including leaving the product key blank. This gets me into trouble later.
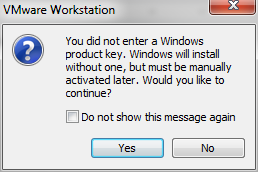
Then I got this error. Just click yes and keep going. I will end up dealing with this later.
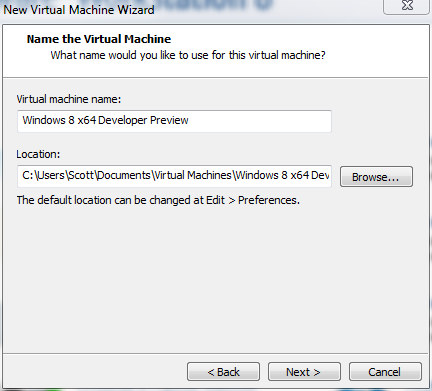
I named my virtual machine “Windows 8 x64 Developer Preview” and left it in the default location. You can change this now if you want to.
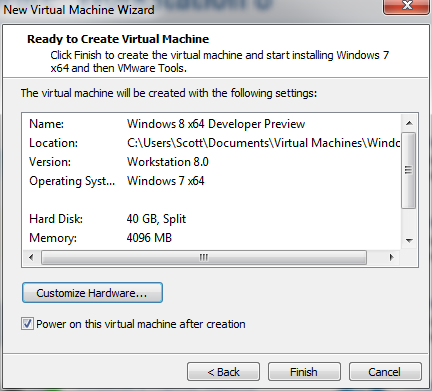
I gave my Winows 8 install 40 Gigabytes of room to play with. I think it requires 16 to install, so I left plenty of room. I chose to split the disk into multiple files in case I want to move the VM around later. This splits the virtual hard disk into 2 GB files that grow with the VM. The virtual disk isn’t large, so it should be fine.

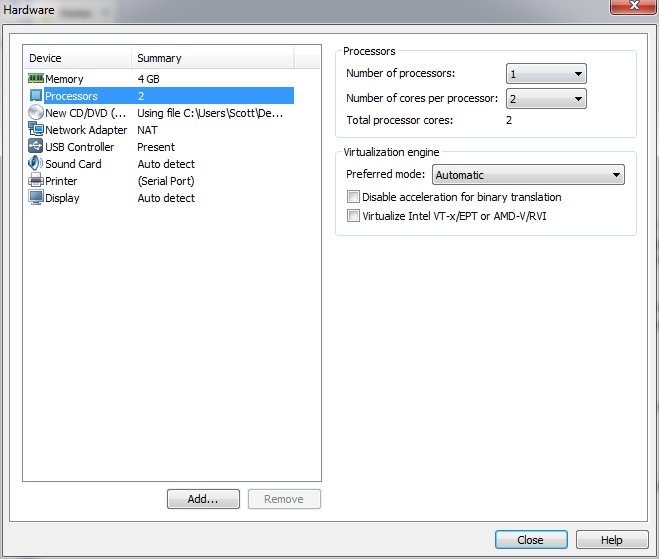
We’re ready to create! Wait, no. I want to customize my hardware a bit. The default amount of RAM is 1 GB (yuck) and the default processor is 1 physical with 1 core. I want to devote a bit more to the machine. Click on the “Customize Hardware…” button to change settings.
I increased the RAM to 4 GB (I have a few gigs to spare) and the processing power to 1 physical with 2 cores. I also deleted the floppy drive (who needs one of those?).
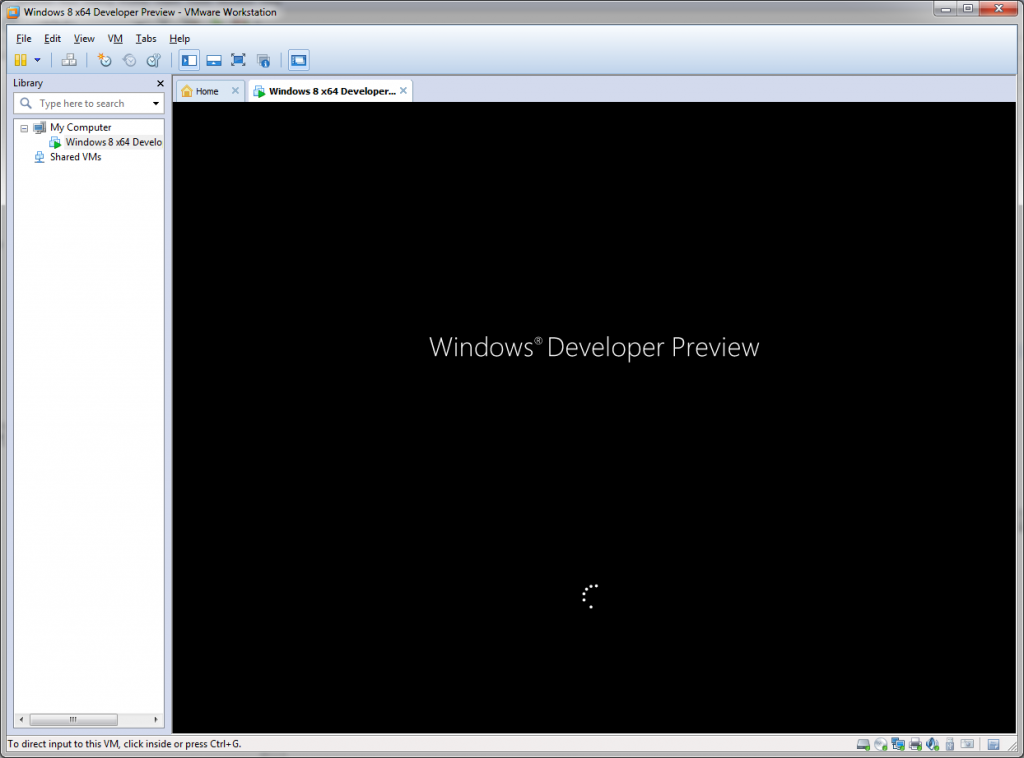
OK now we’re ready to boot! Woohoo it’s booting! And it has a new loading spinner.
First thing I encountered was another error on boot (grr….) that said:
Windows cannot read the <ProductKey> setting from the unattend[sic] answer file.
Uh oh. It’s broken already. It took me awhile (and some Google searching) before I realized that the floppy drive had somehow come back. Eventually I noticed the floppy drive contained an autoconfig file that Windows tries to read in order to do an unattended install. This file is either incompatible or just broken. Here you must go back in to the machine settings and REMOVE the floppy drive or it won’t work. This contains the auto-install settings that don’t include the product key. Even if you specify a product key (any key…) earlier it fails to work.
The Install
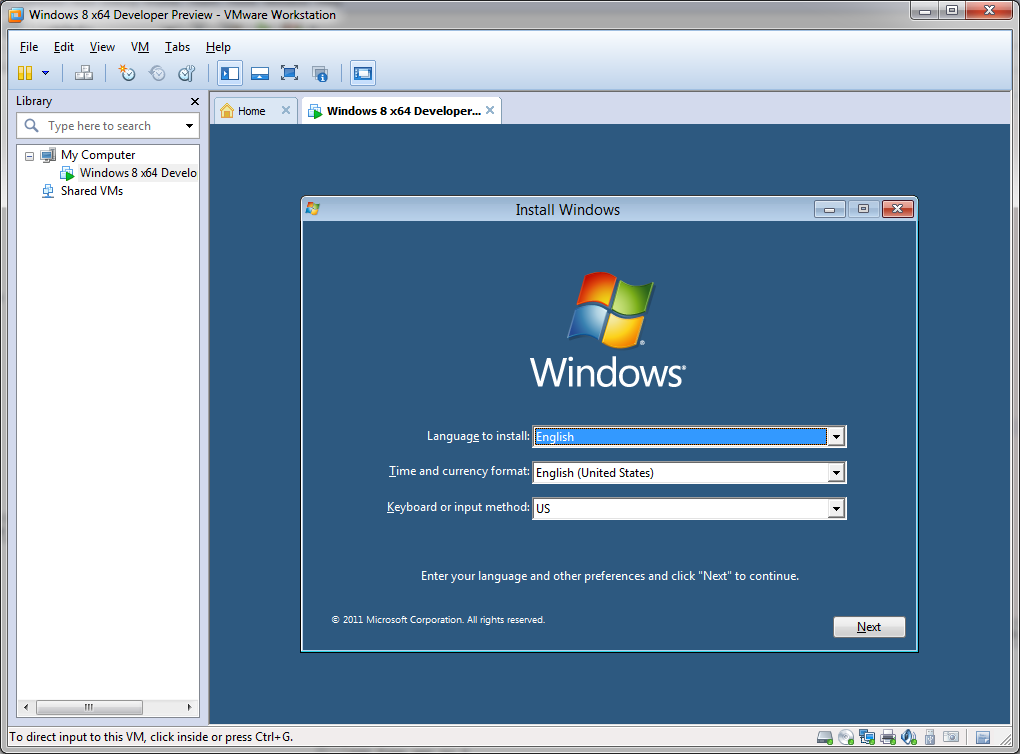
This part is (most likely) the same for VMs or physical machines. Once you remove the Lazarus-like floppy drive (on the VM… you still have a real floppy drive?), you are greeted with an install screen that looks familiar. There’s just a couple of language and keyboard settings here.
This is pretty simple. Just press “Install now.” Currently there’s no system to repair.
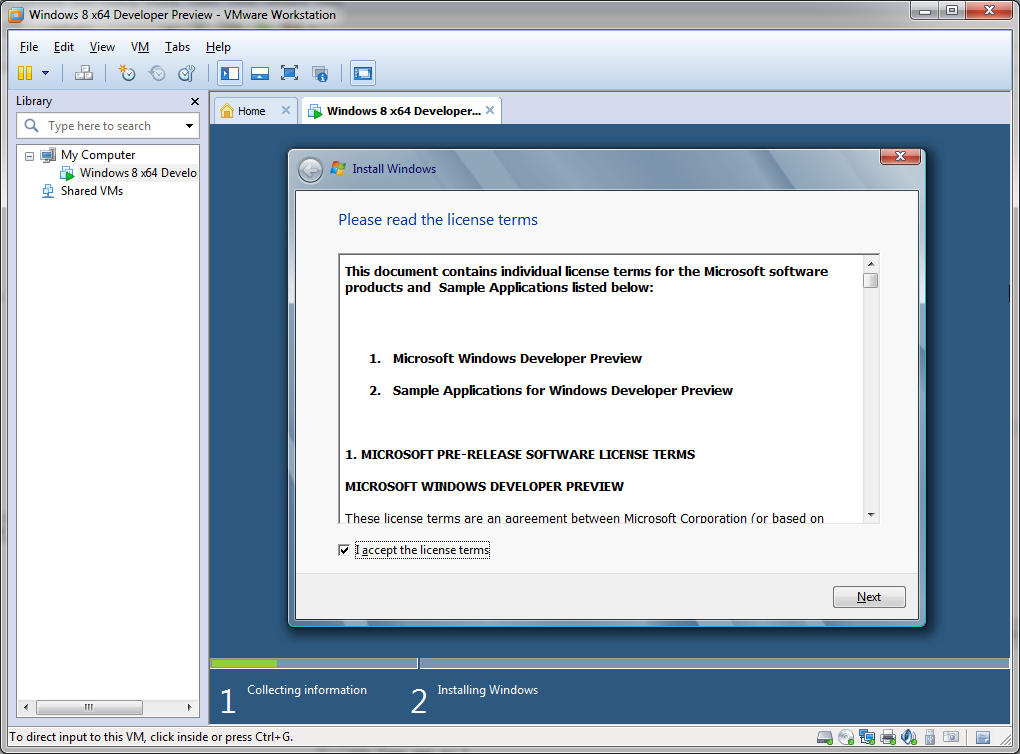
The only way to go on is to agree to anything and everything they want. Just check the box and hit “Next.”

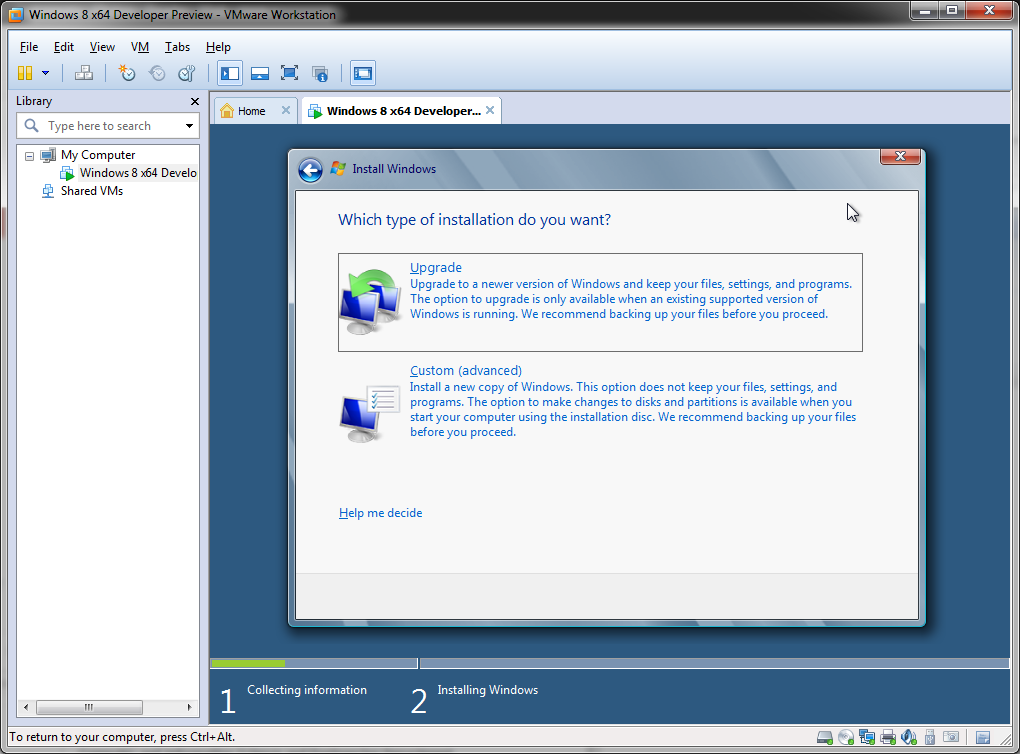
As before, there’s no current system so hit the “Custom (advanced)” option to install fresh.
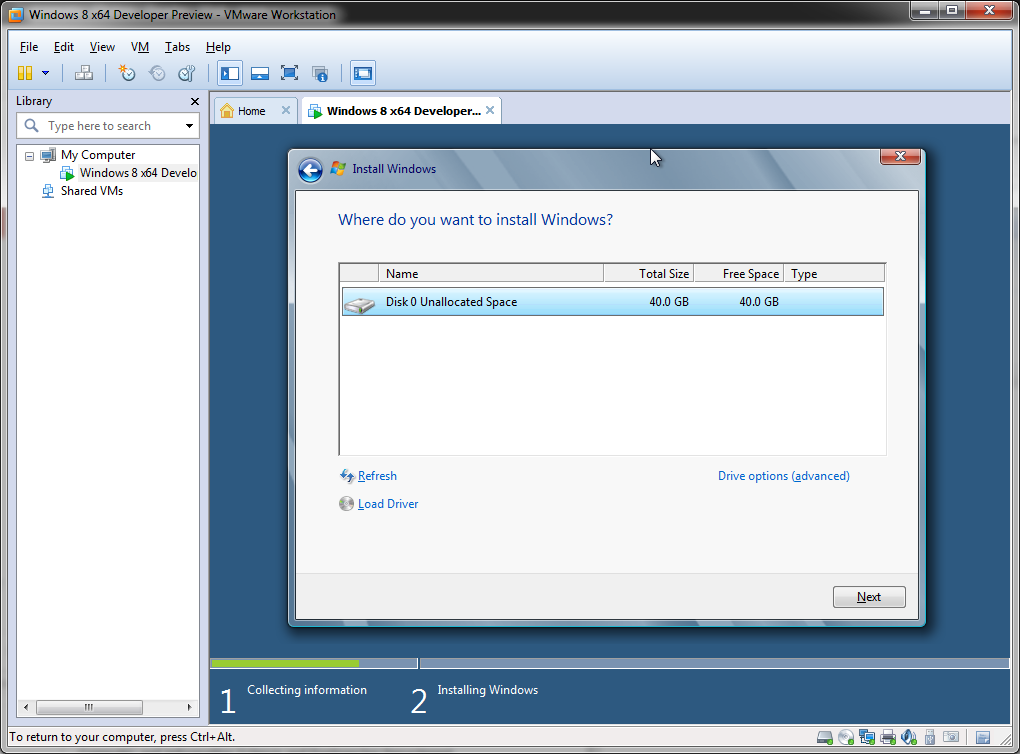
Since I used only one drive on my system, I only have one choice. If you were fancy and have multiple drives at this point, choose the one you want to put the OS on.
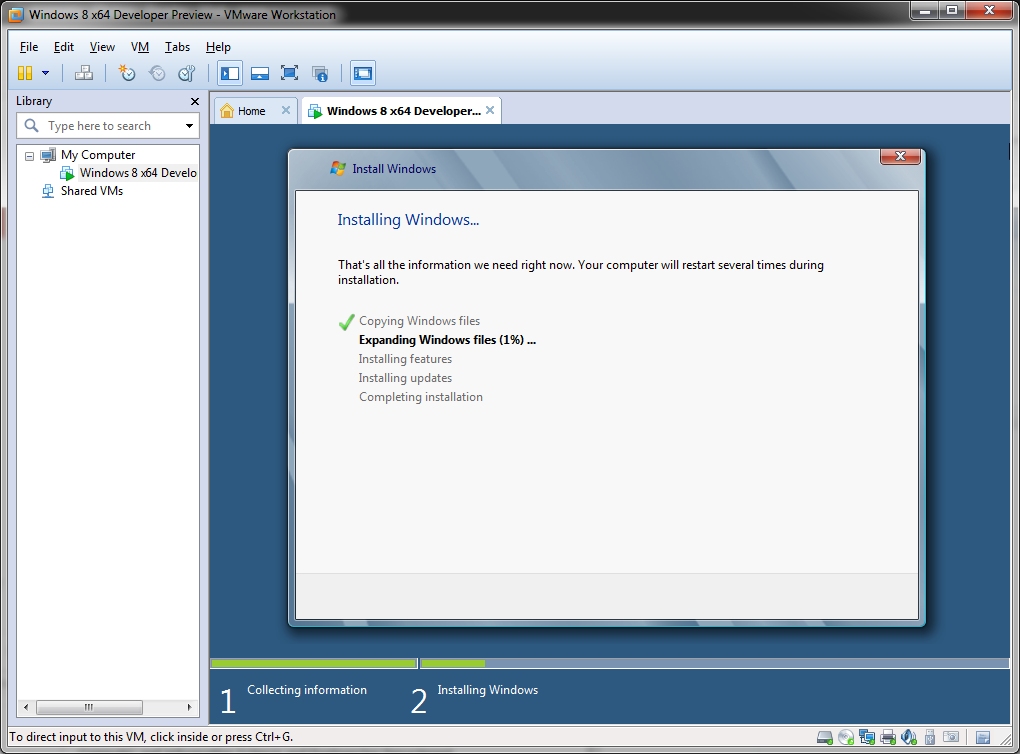
Now it installs… This took absolutely forever to expand the files. In here it will reboot a couple of times. Just let it run and do its thing. I watched an episode of Hak5
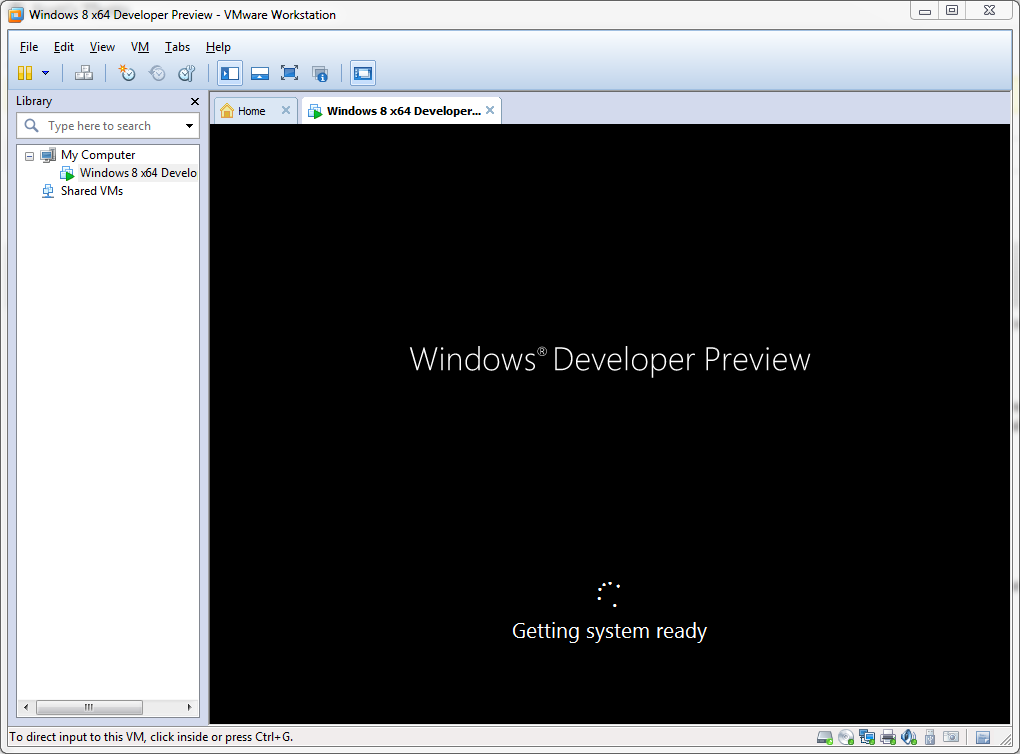
Once it’s done installing the files on to your system, it will start up into this screen and do some configuring for the hardware. This didn’t take very long.
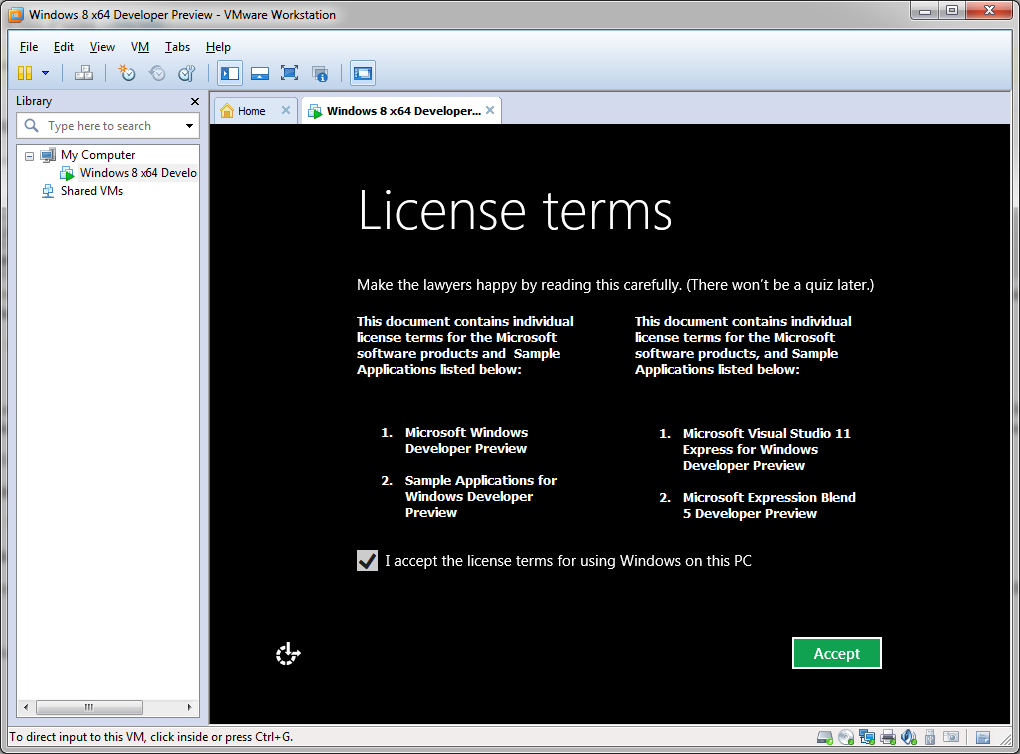
You must agree to their license terms (again) to start the setup process. I found it a bit odd that they take such an informal tone on this screen.
Setup
The setup experience for Windows 8 was very different from what I am used to. There are very few screens and it focuses mainly on the connectivity and experience rather than technical details.
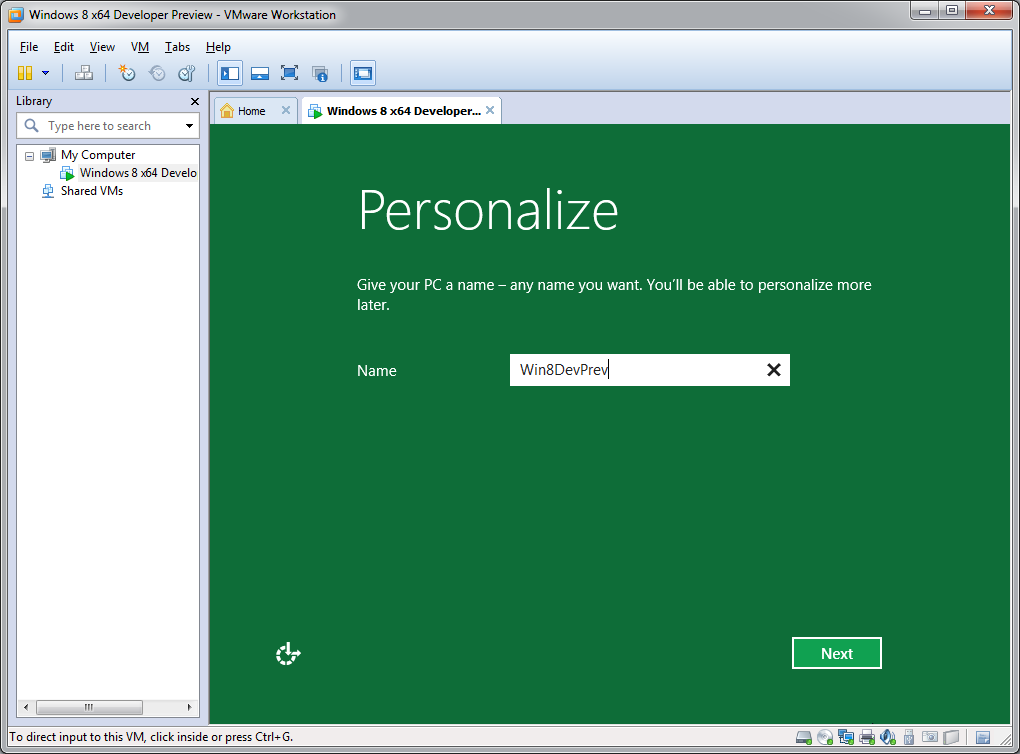
There is an initial screen that says “Let’s go through a few basics” just before this. It went by a bit fast so I didn’t have time to snip the window. Here the computer is given a name. I very creatively named it and moved on.
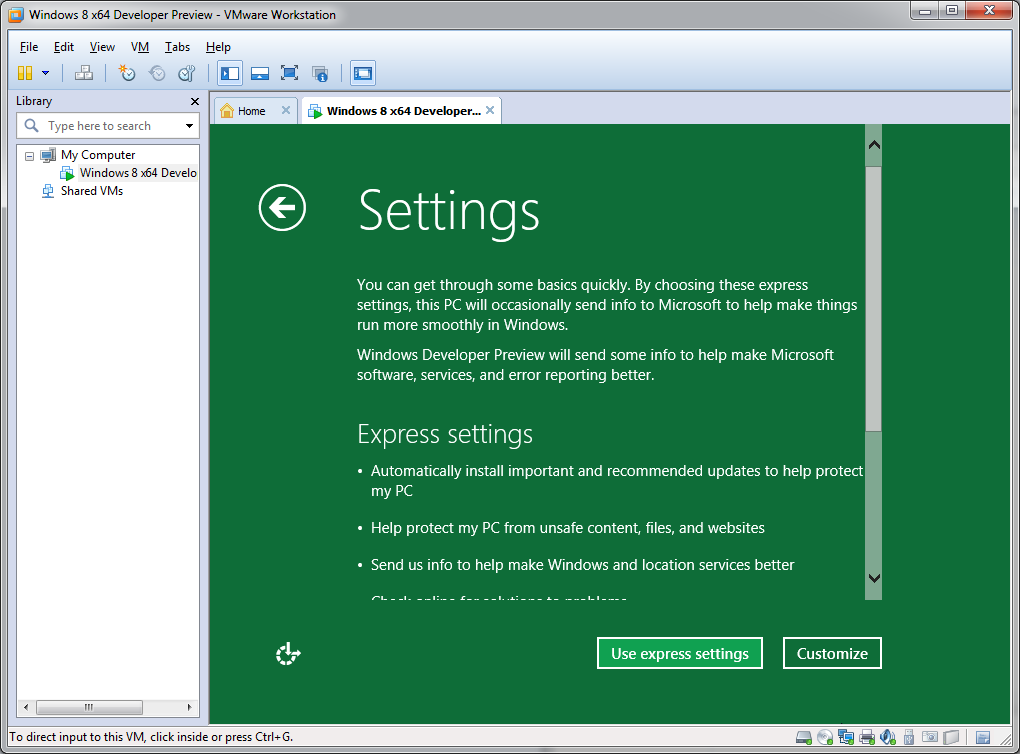
Microsoft has made it dead simple to get through the settings. They just set them all for you! I didn’t have any problems with their defaults so I just chose “Use express settings” and moved on. You may want to change some of the stuff.
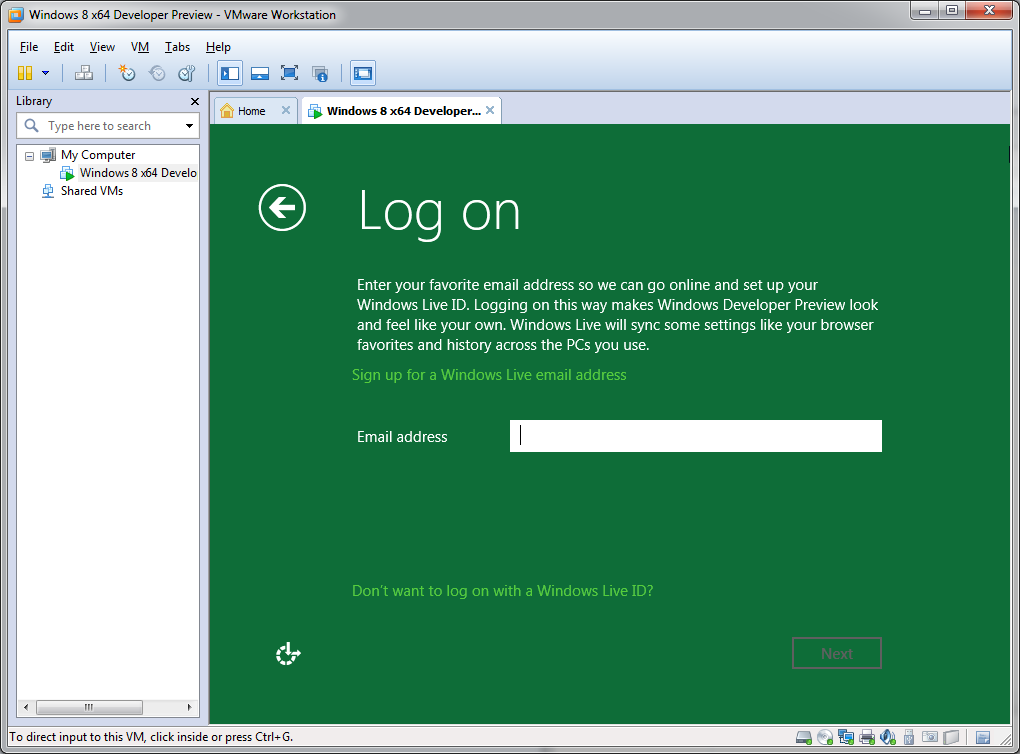
This is where things start getting very different. They want you to link your OS with you Windows Live ID. I already had one, but if you don’t you can create on here and use that. I entered my ID and moved on.
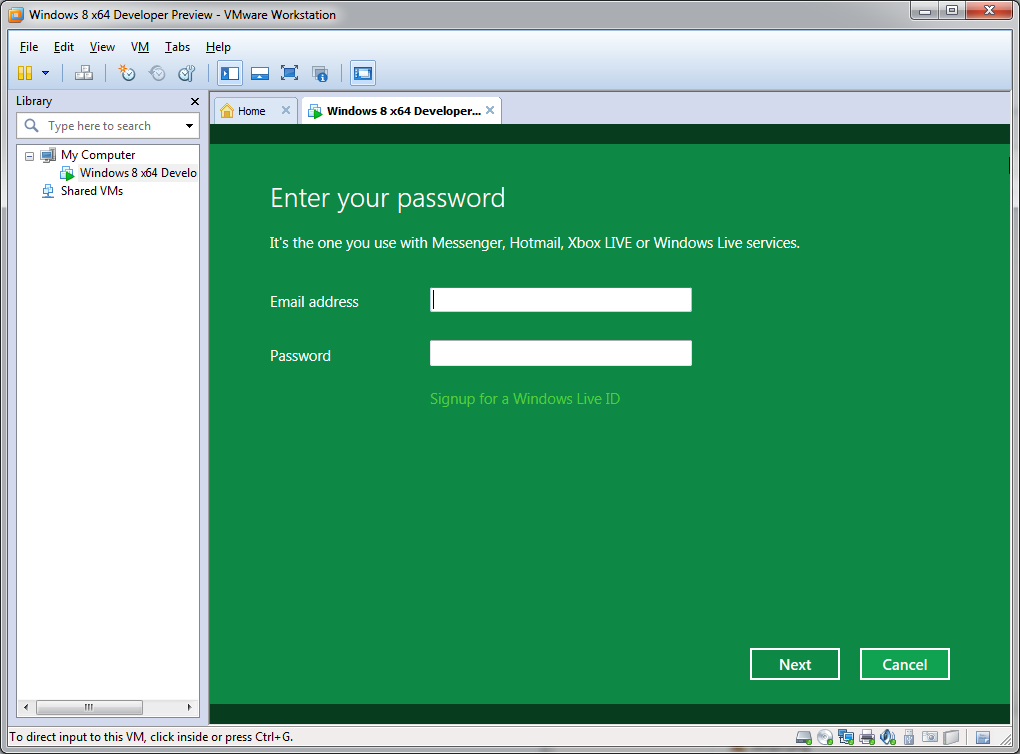
Since I already had an account, I was just taken to the login screen. I put in my credentials and continued. If you missed the link on the previous screen, you can create a Windows Live ID here too.
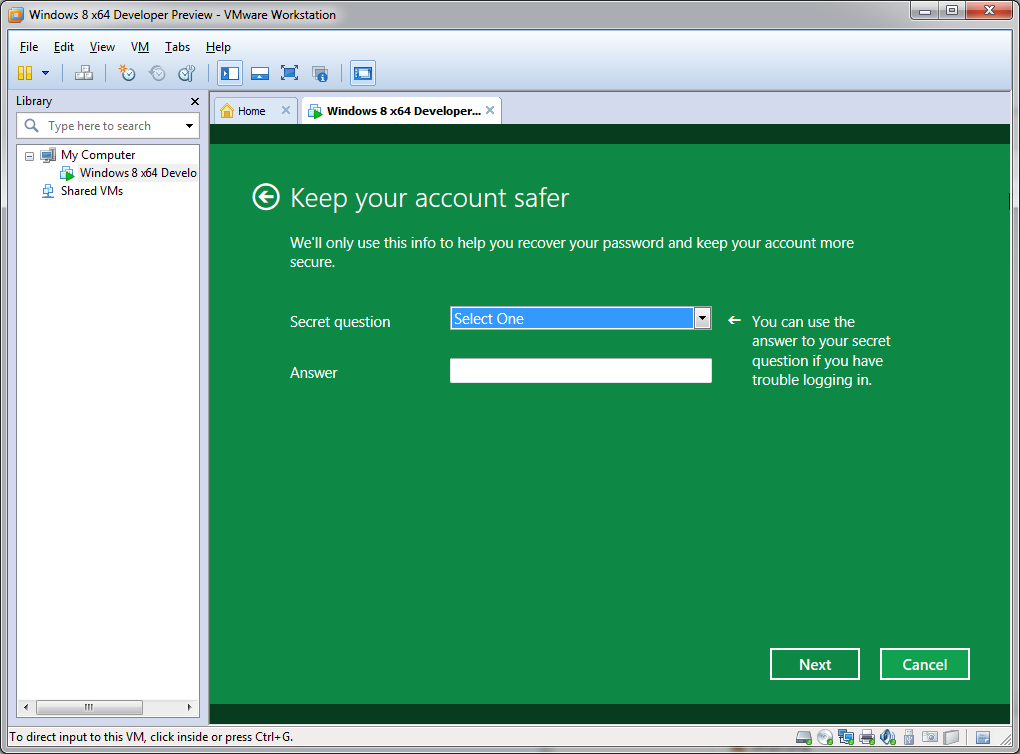
Here I set up a security question. The questions seemed more secure than the standard “Mother’s maiden name” type.
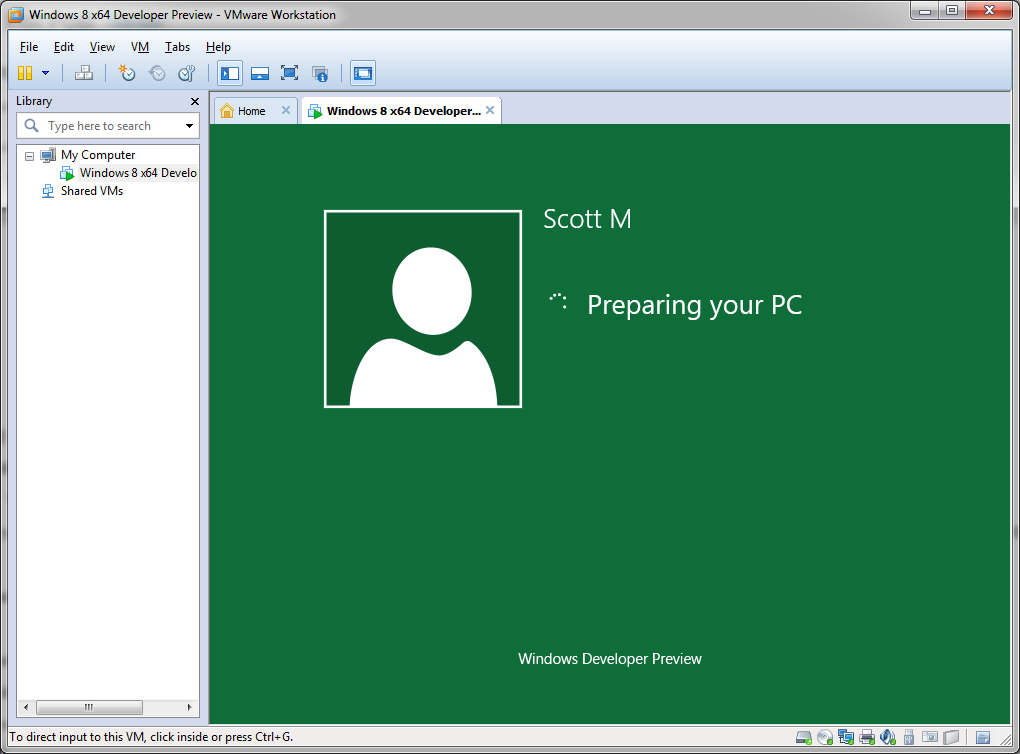
After the rest of the steps it sat on this screen for awhile. I also received an email to my account saying something about a new computer being authorized.
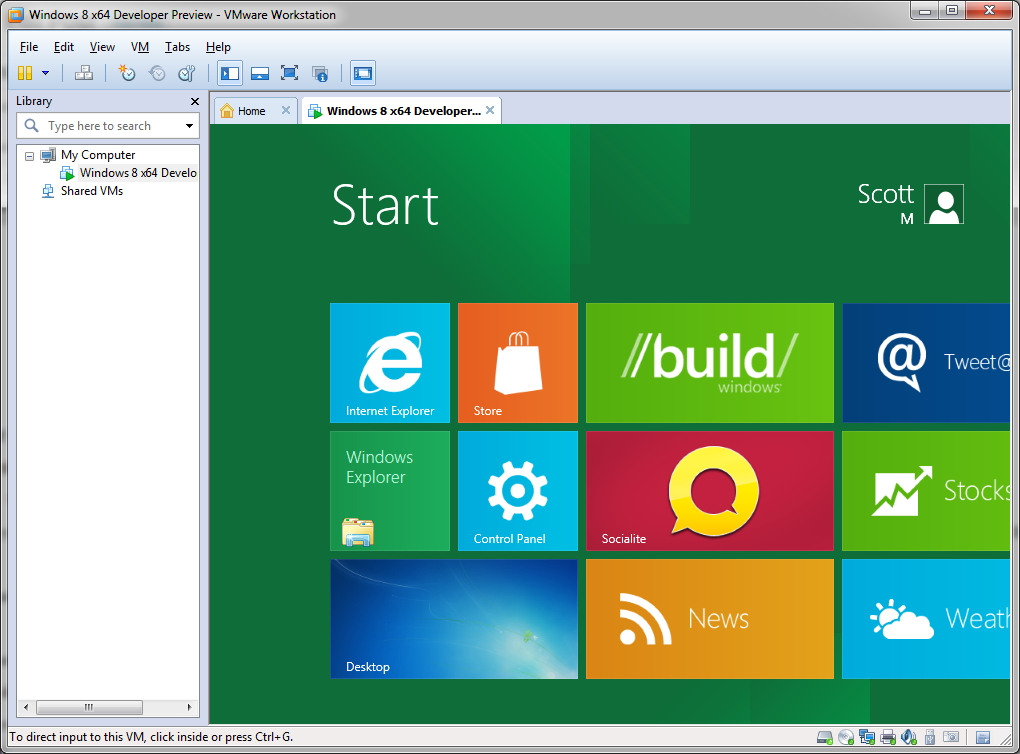
Afterwards it automagically logged me on (another screen too fast for me to snip). I was finally greeted by the brand new Metro UI.
Whew. That was a lot of screenshots. I will be playing with this for awhile and probably post some interesting screenshots. Have fun installing and using Windows 8!